





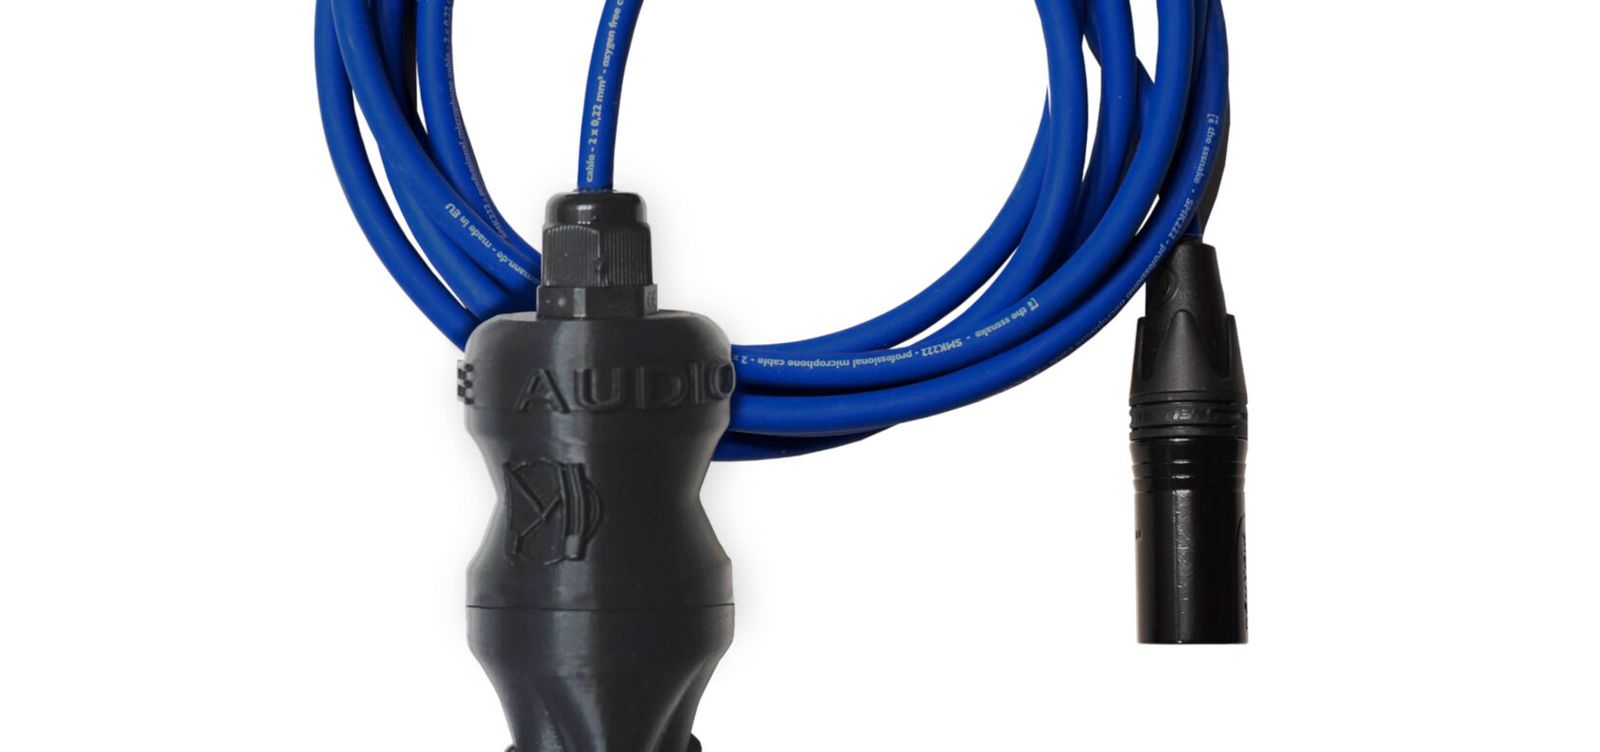
Just received your geophone, or wondering how to use one? Here's everything you need to get started: connecting it, the right settings, and how to fix it in place for the best sound.
Every Manalive Audio geophone is handmade in France, around a seismic sensor covering 5 Hz to 5,000 Hz. It doesn't listen to the air but to matter: the ground, wood, metal, the body. That changes everything about how you use it!

Not equipped yet? Geophone: what is it and how to choose one?
What you need to listen
The geophone needs a device to amplify its signal: a recorder, a sound card or an amp with a microphone input. Be careful, it won't work plugged directly into a phone, a speaker or a computer!
- XLR version : Zoom recorders (H4n, H5, H6, F3, F6), Sound Devices, and most sound cards.
- Large jack version : guitar amp, DI box or recorder with a jack input.
- Mini-jack version : small recorders with a mini-jack input, such as the Zoom H1 or some Tascam models.
Add closed-back headphones with good bass. Without them, you'll miss half of what the geophone picks up.
Connecting your geophone
- Screw on the head you need, by hand and without forcing.
- Plug the geophone into your device's microphone input.
- Leave 48 V phantom power off: the geophone is passive and doesn't need it.
- Plug your headphones into the device's output.
- Turn the gain up fairly high, then gently tap the surface next to the mic to set the level.
The right settings
- Low-cut filter off. Many recorders have one, often labelled "low cut" or "HPF". It removes the very lows the geophone picks up.
- Bold gain, but with headroom. The signal is weak, but a knock right next to the mic can clip in an instant. Keep some headroom.
- 32-bit float if you have it. On recorders that offer it, such as the Zoom F3, no more risk of clipping on an impact.
- 48 kHz is enough. The geophone goes up to 5,000 Hz: no need to record at 96 or 192 kHz, unlike the hydrophone.
Hearing hiss?
If there's hiss, it's often because your device's preamp lacks gain. For the XLR version, a Triton Audio FetHead helps a lot: powered with 48 V by the recorder, it adds gain to a passive mic without sending 48 V to the mic.
Fixing your geophone properly: contact is everything
A geophone that barely touches its surface hears poorly. The more firmly it sits, the richer the sound. Choose the head according to what you want to listen to.
The ground, with the Ground spike
Included with the geophone. Plant it straight and deep, then pack the soil around it a little. It will then pick up footsteps, knocks and distant rumbles. Avoid very dry sand or loose soil, which carry vibrations less well.

Metal, with the Magnet
The magnet holds on its own on a handrail, a metal sheet, a radiator or a machine. Note: it only sticks to steel and iron, not aluminium.
Smooth surfaces, with the Suction cup
For a window, tiles or a household appliance. The surface must be clean, flat and smooth for the suction cup to hold well.
Wood and everything else
On a table, a wooden floor, a tree trunk or a guitar, lay the geophone flat and hold it in place with a little adhesive putty or a small weight. On the chest, simply hold it there with gentle pressure.
The Float, to make a maraca
Fill it with sand, rice or small pebbles, screw it on and shake: you're recording the maraca from the inside!
All these heads are the same as those of our hydrophone. Using your hydrophone: connection, preamp and heads
Avoiding unwanted noise
The geophone picks up very little airborne noise, but it hears anything that makes it vibrate. Including you!
- Stay still. Your footsteps can be heard through the ground. Make the most of the 3 metres of cable to step away.
- Keep the cable quiet. The slightest rub travels up to the mic. Leave the cable lying on the ground, and tape it down if it's windy.
- Don't put the recorder on the same surface. Every button you press would be heard in the take.
- Keep it away from electronic devices and power cables, which can cause interference.
Three things to try first
- Your heart. Place the geophone against your chest, turn up the gain and listen to the beats.
- A table. Put it on top, then tap, scratch, roll a marble. The sounds are nothing like what you hear in the room!
- The garden. Plant the Ground spike, step away, and ask someone to walk around it.
Plenty more ideas are waiting for you: Our microphones for sound designers
After the take
Don't cut anything while recording: sort it out in the edit. An equaliser lets you remove excess lows or, on the contrary, boost them. And to hear very low vibrations on small speakers, try speeding the sound up or raising its pitch!
A few precautions
- In its standard version, the geophone is not waterproof. Keep it dry, especially in wet grass or on ice. A waterproof version is coming soon.
- For water, it's the hydrophone you need.
- Don't pull on the cable to pull out the Ground spike: hold the body of the mic.
- Screw and unscrew the heads by hand, without forcing.
- After an outing, wipe off the soil and let the mic dry before putting it away.
Your questions
Why can I barely hear anything?
Check three things: the gain is high enough, the low-cut filter is off, and the geophone is in firm contact with its surface. Also listen on headphones: on small speakers, the lows disappear.
Should I switch on 48 V?
No. The geophone is passive; a simple microphone input is enough.
Can the cable be extended?
Yes, on the XLR and large jack versions, with an extension cable of the same type.
Read next
- Geophone: what is it, how does it work and which one should you choose?
- Geophone comparison: Manalive Audio, LOM Geofón and Leaf Audio
- Our microphones for nature recordists
- Buy a Manalive Audio geophone: versions and prices
Sources
The specifications of our microphones come from our own measurements and product sheets. For everything else, here are the references this article is based on.